Previous Post: Homelab AI: Part 2 – OS/Software Build
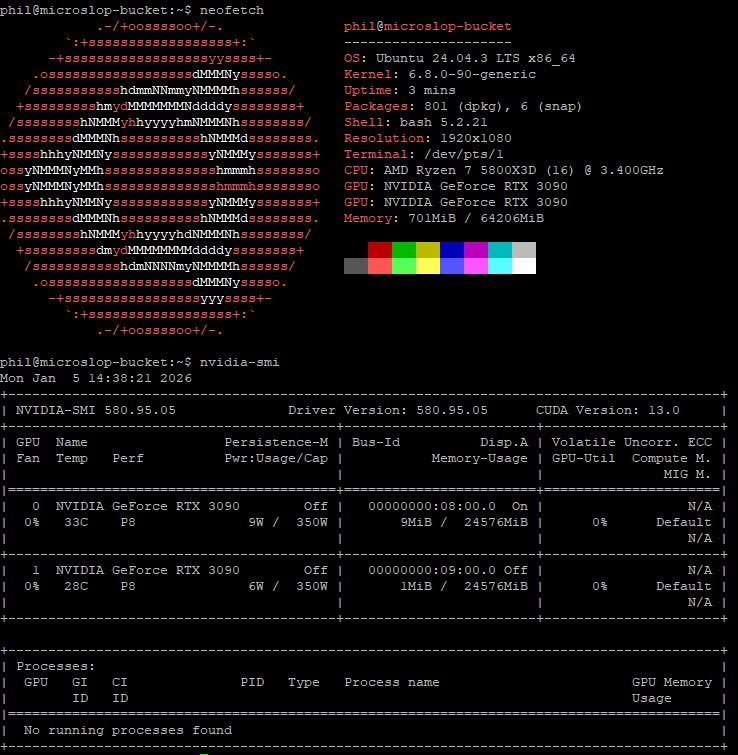
With the operating system deployed and NVIDIA drivers in working order, the next step was to deploy Ollama & WebUI. Ollama allows you to chat and build with open models, the kind of which are perfect for self-hosted deployment. WebUI provides an easy-to-use web front-end to Ollama.
Ollama
Deploying Ollama is easy – one command to deploy:
curl -fsSL https://ollama.com/install.sh | sh
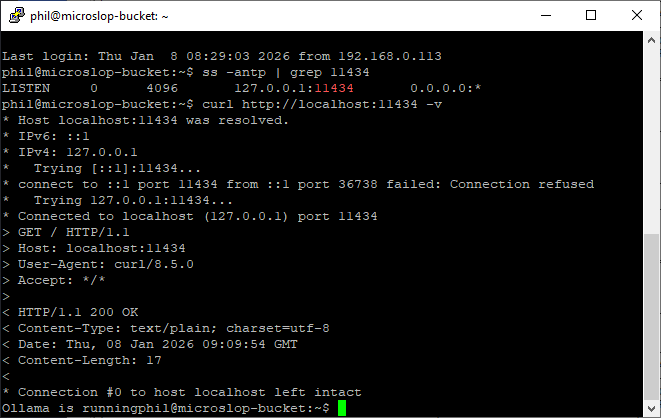
If Ollama deploys correctly and starts running, you should be able to access it on http://localhost:11434 in it’s default configuration. To test this from the command line:
# ss -antp | grep :11434
# curl http://localhost:11434 -v
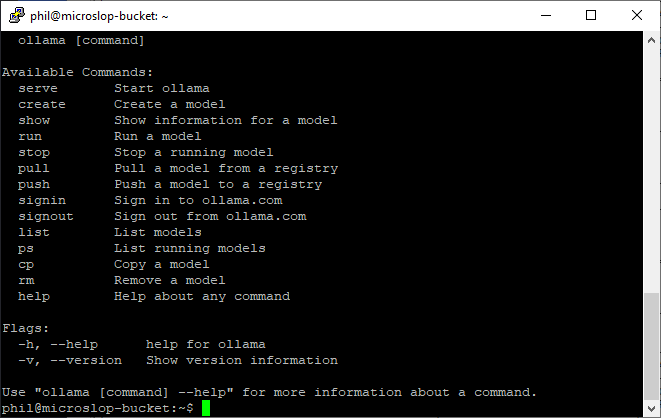
In it’s default configuration, Ollama will run as a service and will start/stop with the system automatically. You can use Ollama from the command line to manage and run models if you want to:
To get a model for Ollama to use locally, pick one from the list of models here and use ollama pull to download it. For example:
# ollama pull deepseek-r1
Will pull the deepseek-r1 models from the Ollama library. You can download all versions of that model family, or pick a specific model. For example, if you wanted deepseek-r1:8b:
# ollama pull deepseek-r1:8b
You can list all locally installed models using ollama list, and remove local models by using ollama rm modelname. To run a model from the command line, use ollama run modelname (you can use the –verbose flag here if you want to see stats on load, token generation etc).
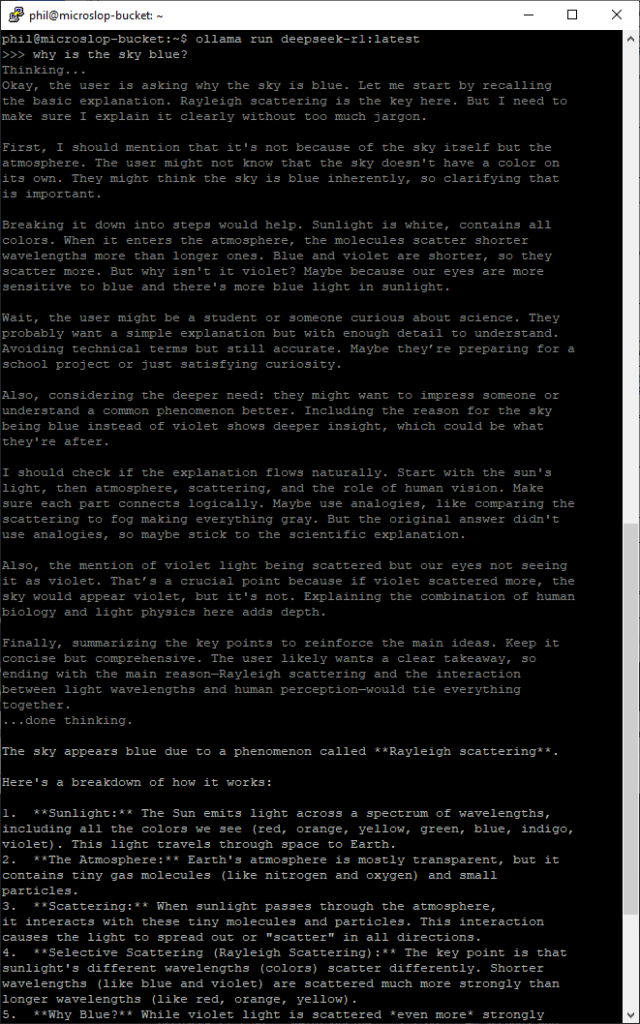
To quit an active session with a model, type /bye in the session window.
Open WebUI
Open WebUI will form the front-end of the LLM infrastructure I’m setting up. It provides a nice front end with lots of additional features, like RAG integration, web search, model management, and MCP support (which will be useful if I want to extend the functionality of my deployment at a later point).
WebUI is available as a docker image, so I chose to use that as the deployment model.
# apt update && apt-cache search docker
docker.io - Linux container runtime
# apt install docker.io
# systemctl enable docker
To enable NVIDIA support for docker workloads, I need to follow the guidance here and install some additional packages:
# apt install nvidia-container-toolkit
# nvidia-ctk runtime configure --runtime=docker
# systemctl restart docker
Once Docker is restarted, I then need to pull the WebUI docker image and run it. To do this:
# docker pull ghcr.io/open-webui/open-webui:main
If you’re running Open-WebUI and Ollama on the same host, the best way to do this is using docker’s internal networking for connectivity:
# docker run -d -p 3000:8080 --gpus all --add-host=host.docker.internal:host-gateway -v open-webui:/app/backend/data --name open-webui --restart always ghcr.io/open-webui/open-webui:main
This was perfect for me as I just wanted to expose Ollama to my WebUI only. If you want to use Ollama with WebUI on another host, you should bear in mind that Ollama has no authentication on open ports, so you’d probably want to lock it down to a private network or using firewall rules preventing anything other than your frontend from connecting to it directly. It’s worth reading through the Open WebUI docs if you’re wanting to do this (or change the configuration from the single host build I’m using here).
If you hit problems with running both on the same host, it’s worth checking out the Open WebUI troubleshooting docs here.
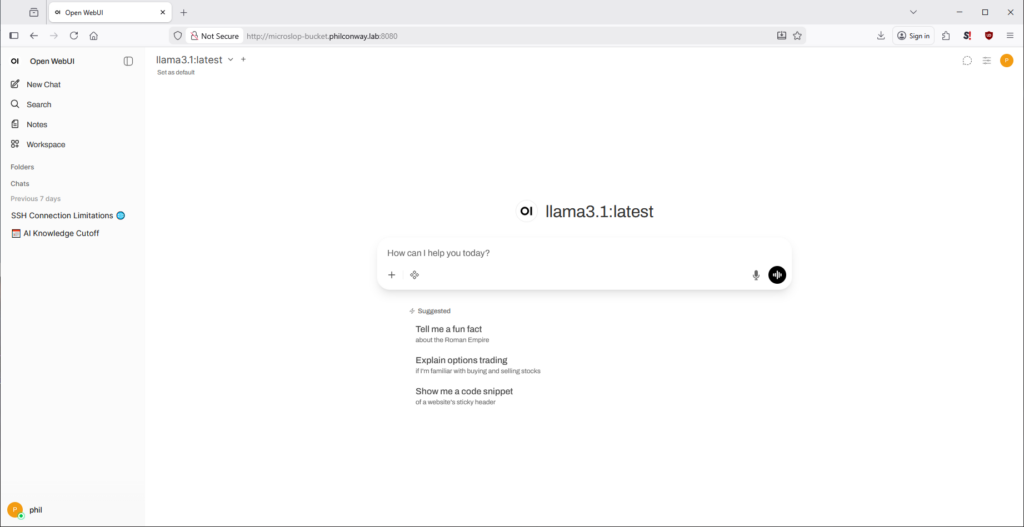
If you’re using Open WebUI in it’s default configuration, you can log in on port 3000. You’ll now be prompted to configure a username and password before you can start configuring your instance and interacting with models.
Next: Homelab AI: Part 4 – Benchmarking & Testing